

Blending is very important. With using wet or dry products for everyday or editorial application. Brushes can be very expensive for all to use. But using sponges work just as well for professional and everyday usage.
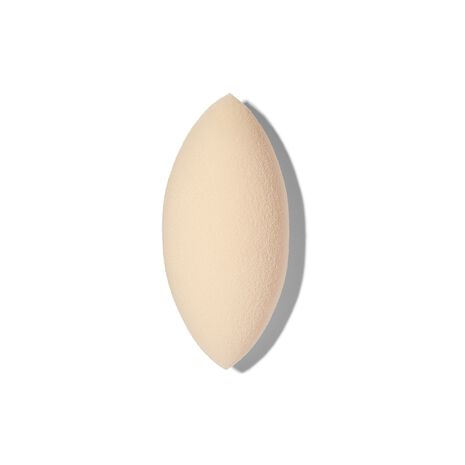
ELF has some wonderful cosmetic products and application tools. This is the Camo Concealer Sponge. The perfect sponge to complement the 16HR Camo Concealer. This sponge was specifically designed to perform best with this concealer. Made with soft, latex free foam and dual-pointed ends, this sponge easily fit into the hard-to-reach areas of the face, allowing for a flawless application.

Excellent product to use with wet or dry concealers or even just for dry application of blush or foundations. This sponge is an exceptionally soft sponge that blends well without picking up product! Camo Concealer Sponge makes everything blend so soft and seamlessly. Surprisingly with this little sponge is a lot more dense and not as frail as I thought it would be . Blends well and lasts pretty long even with frequent washes. Always use soap and water to clean. I prefer Dawn Soap. Also excellent for cleaning brush’s. I recommend this product for professional use. This sponge is an exceptionally soft sponge that blends well without picking up product!


You must be logged in to post a comment.